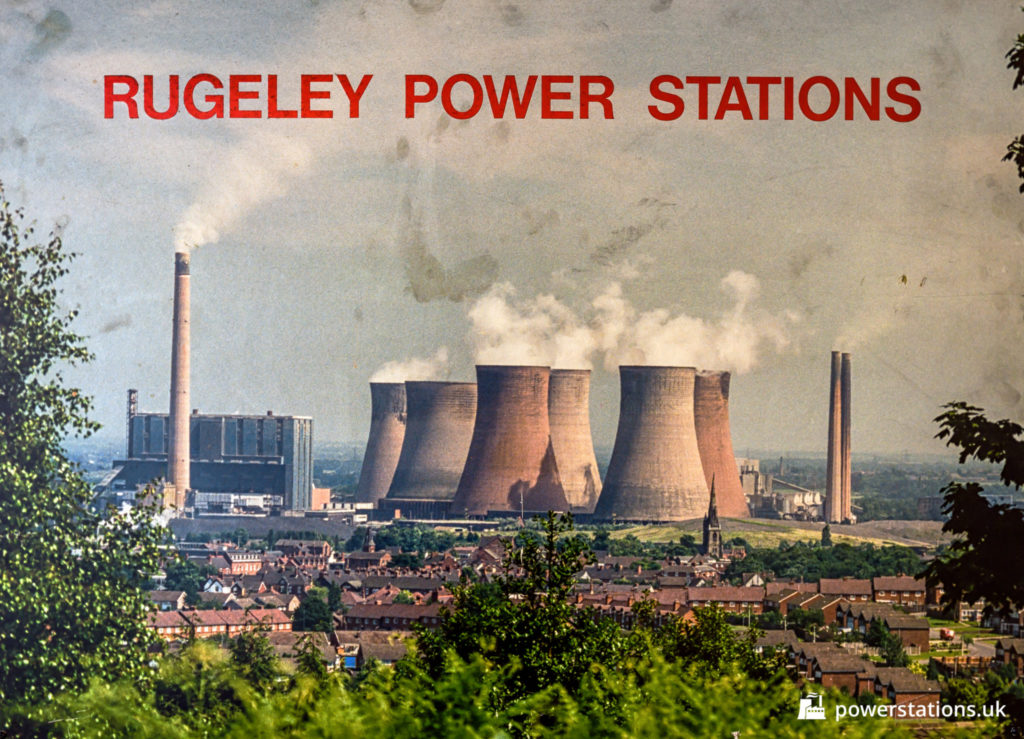
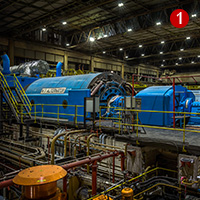
Photo showing the A and B stations Images navigation Previous Next Photo showing the A and B stations
